

Sandwich Bread Recipe
My Foolproof Sandwich Bread That’ll Make Your Kitchen Smell Like Heaven
Girl, can we talk about the magic of fresh, homemade sandwich bread? I’m telling you, nothing hits quite like a soft, pillowy loaf that smells like pure comfort and makes your kitchen feel like a bakery straight out of a rom-com.
I remember the first time I baked my own sandwich bread — I was skeptical, okay? Thought it’d be this complicated, “I’ll ruin everything” type of situation. But nah, babe. It was soft, fluffy, and perfectly sliceable, and my little brother practically tried to inhale the whole loaf before I even got a chance to make a sandwich. True story.
So today, I’m sharing my go-to sandwich bread recipe — no crazy ingredients, no scary techniques, just a super reliable, soft, and buttery loaf you’ll wanna make on repeat. Trust me, once you get a whiff of that fresh-baked aroma, you’ll be hooked.
Why I’m Obsessed with This Sandwich Bread
Alright, listen up — here’s why this loaf is my ride-or-die bread:
- It’s soft but sturdy. Meaning? It can hold your stacked deli meats, avocado, or peanut butter jelly without collapsing like a sad pancake.
- It’s buttery without being overpowering. You get that rich, comforting flavor that makes even a plain slice taste like heaven.
- It’s not finicky. No “oh, your yeast might revolt” drama. Babe, we’re keeping it chill in the kitchen.
- It’s versatile. Toast it, sandwich it, make it French toast — basically, it’s the blank canvas your breakfast dreams deserve.
What You’ll Need for This Sandwich Bread
Let’s grab our ingredients, and don’t stress — it’s all stuff you probably have lying around.
- 1 cup warm water (think bath temperature, not boiling — we’re not scalding the yeast, okay?)
- 2 tablespoons sugar (or honey, if you’re feeling fancy)
- 2 ¼ teaspoons active dry yeast (one little packet, babe)
- 3 cups all-purpose flour (plus extra for kneading — you’ll need it)
- 1 teaspoon salt
- 2 tablespoons unsalted butter, melted (or coconut oil if you’re keeping it vegan-friendly)
- ¼ cup milk (optional, for brushing the top — makes that golden glow)
Pro Tip: Once, I added a teaspoon of garlic powder to half the dough — babe, garlic toast level 100. Totally optional, but don’t say I didn’t warn you.
How to Make This Sandwich Bread
a.k.a. the step-by-step to bread bliss
1. Wake up the yeast
Grab a small bowl and pour in your warm water. Sprinkle in the sugar and yeast, and give it a gentle swirl. Let it sit for 5–10 minutes until it’s foamy on top. This, my love, is your yeast saying, “Hey girl, we got this.”
2. Mix your dough
In a big bowl, combine the flour and salt. Make a little well in the center and pour in your melted butter and the yeast mixture. Stir with a wooden spoon or your hands (hands are fun — get in there, feel the dough). It’ll look kinda shaggy at first, and that’s okay. We’re building character here.
3. Knead like you mean it
Turn the dough onto a floured surface and knead for 8–10 minutes until it’s soft, smooth, and just a tiny bit stretchy. If it’s sticky, sprinkle a little flour — don’t go wild, babe. The dough should be soft, not a brick. Kneading is like therapy — I swear I think better with my hands in dough.
4. Let it rise, honey
Place your dough in a greased bowl, cover it with a clean kitchen towel, and let it rise in a warm spot for 1–2 hours — until it’s doubled in size. Patience, queen. This is when the magic happens.
5. Shape it up
Once it’s risen, gently punch the dough down (yes, like a little stress release) and shape it into a loaf. Pop it into a greased 9×5-inch loaf pan. Cover it again and let it rise for another 30–40 minutes — just enough for it to puff up beautifully.
6. Bake it to golden perfection
Preheat your oven to 375°F (190°C). If you want that shiny, bakery-style crust, brush the top with milk. Bake for 25–30 minutes until the top is golden and your kitchen smells like, well… heaven. Tap the top — if it sounds hollow, babe, you did it.
7. Cool it down
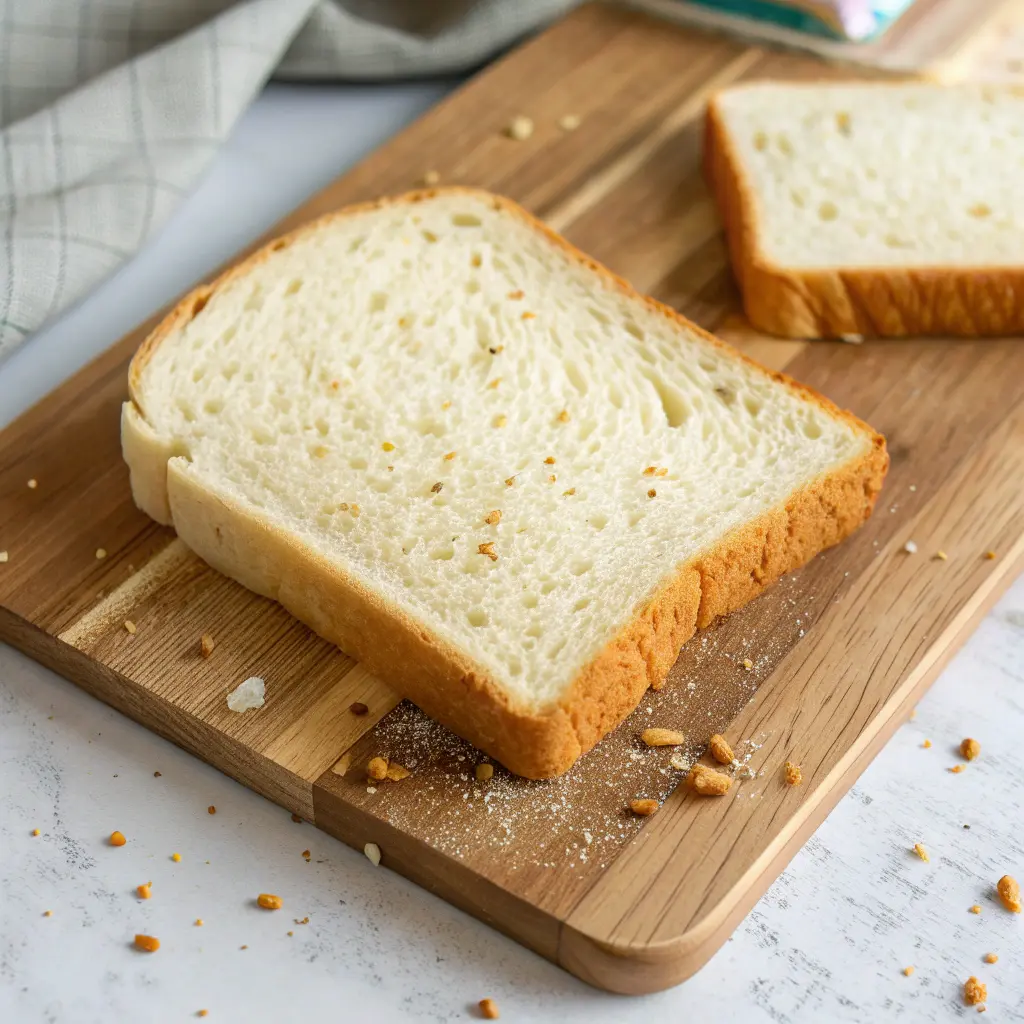
This is the hardest part, I know. Let the bread cool for at least 15 minutes before slicing. Otherwise, you’ll end up with smooshed slices and regret — trust me, I’ve been there. But once it’s cool, it’s perfect for sammies, toasts, or even straight-up butter-on-top joy.
Maria’s Sandwich Bread Tips (aka What I Learned the Hard Way)
- Warm water matters. Too hot = sad dead yeast. Too cold = slow rise. Perfect temp = yay yeast, yay bread.
- Don’t skimp on kneading. Babe, you can tell a lot about your bread from kneading. Soft, smooth, slightly stretchy = success.
- Butter is magic. Melted butter in the dough = soft, rich slices. I once forgot it, and my bread was cute but a little “meh.” Never again.
- Patience, queen. Two rises are non-negotiable. First rise = flavor. Second rise = perfect texture. Trust me, it’s worth the wait.
- Add-ins = your vibe. Seeds, herbs, shredded cheese… go wild. I once tossed in everything bagel seasoning and felt like a genius.

Sandwich Bread FAQ (aka Maria’s Bread Confessions)
Can I use whole wheat flour?
Totally! Just know it’ll be a bit denser, so maybe a little extra water or milk will help it stay soft.
Can I freeze this bread?
Oh, yes! Slice it first, wrap it tightly, and freeze. Pop slices straight into the toaster whenever you’re craving fresh-baked vibes.
Why did my bread come out dense?
Probably under-kneaded or didn’t rise enough. Remember, soft and stretchy dough = love.
Can I make it vegan?
For sure! Swap butter for coconut oil and milk for almond or oat milk. Still soft, still dreamy.
You Did That, Babe!
Look at you, baking your own sandwich bread like a total boss. The smell alone deserves a crown, honestly. Slice it thick, pile on whatever you’re craving — turkey, avo, peanut butter jelly — and feel that pride when your friends or family take their first bite.
This is bread that hugs your soul, babe. No drama, just good vibes, soft slices, and a little slice of homemade heaven.
Stick around — we’re gonna do so many more cozy, easy, flavorful recipes together. From sweet treats to comfort eats, we’re turning your kitchen into your happy place, one recipe at a time.
Big hugs, soft slices, and all the buttery vibes,
Maria
Sandwich Bread Recipe
Ingredients
- 1 cup warm water think bath temperature, not boiling — we’re not scalding the yeast, okay?
- 2 tablespoons sugar or honey, if you’re feeling fancy
- 2 ¼ teaspoons active dry yeast one little packet, babe
- 3 cups all-purpose flour plus extra for kneading — you’ll need it
- 1 teaspoon salt
- 2 tablespoons unsalted butter melted (or coconut oil if you’re keeping it vegan-friendly)
- ¼ cup milk optional, for brushing the top — makes that golden glow
Instructions
Wake up the yeast
- Grab a small bowl and pour in your warm water. Sprinkle in the sugar and yeast, and give it a gentle swirl. Let it sit for 5–10 minutes until it’s foamy on top. This, my love, is your yeast saying, “Hey girl, we got this.”
Mix your dough
- In a big bowl, combine the flour and salt. Make a little well in the center and pour in your melted butter and the yeast mixture. Stir with a wooden spoon or your hands (hands are fun — get in there, feel the dough). It’ll look kinda shaggy at first, and that’s okay. We’re building character here.
Knead like you mean it
- Turn the dough onto a floured surface and knead for 8–10 minutes until it’s soft, smooth, and just a tiny bit stretchy. If it’s sticky, sprinkle a little flour — don’t go wild, babe. The dough should be soft, not a brick. Kneading is like therapy — I swear I think better with my hands in dough.
Let it rise, honey
- Place your dough in a greased bowl, cover it with a clean kitchen towel, and let it rise in a warm spot for 1–2 hours — until it’s doubled in size. Patience, queen. This is when the magic happens.
Shape it up
- Once it’s risen, gently punch the dough down (yes, like a little stress release) and shape it into a loaf. Pop it into a greased 9×5-inch loaf pan. Cover it again and let it rise for another 30–40 minutes — just enough for it to puff up beautifully.
Bake it to golden perfection
- Preheat your oven to 375°F (190°C). If you want that shiny, bakery-style crust, brush the top with milk. Bake for 25–30 minutes until the top is golden and your kitchen smells like, well… heaven. Tap the top — if it sounds hollow, babe, you did it.
Cool it down
- This is the hardest part, I know. Let the bread cool for at least 15 minutes before slicing. Otherwise, you’ll end up with smooshed slices and regret — trust me, I’ve been there. But once it’s cool, it’s perfect for sammies, toasts, or even straight-up butter-on-top joy.
Notes
- Water temperature matters. Aim for warm, not hot (around 105–110°F). Too hot can kill the yeast, too cold slows everything down.
- Rising time can vary. If your kitchen is chilly, the dough might need a little extra time. Be patient — good bread takes its sweet time.
- For softer crust: Brush the top with melted butter right after baking and cover loosely with a towel while cooling.
- For crispier crust: Skip brushing and let it cool uncovered.
- Freezing tip: Slice the loaf before freezing so you can grab single slices straight to the toaster.
- Whole wheat option: Swap up to half the flour for whole wheat flour. You may need an extra tablespoon or two of liquid for softness.
- Dairy-free version: Use plant-based butter or oil and non-dairy milk — still soft, still dreamy.