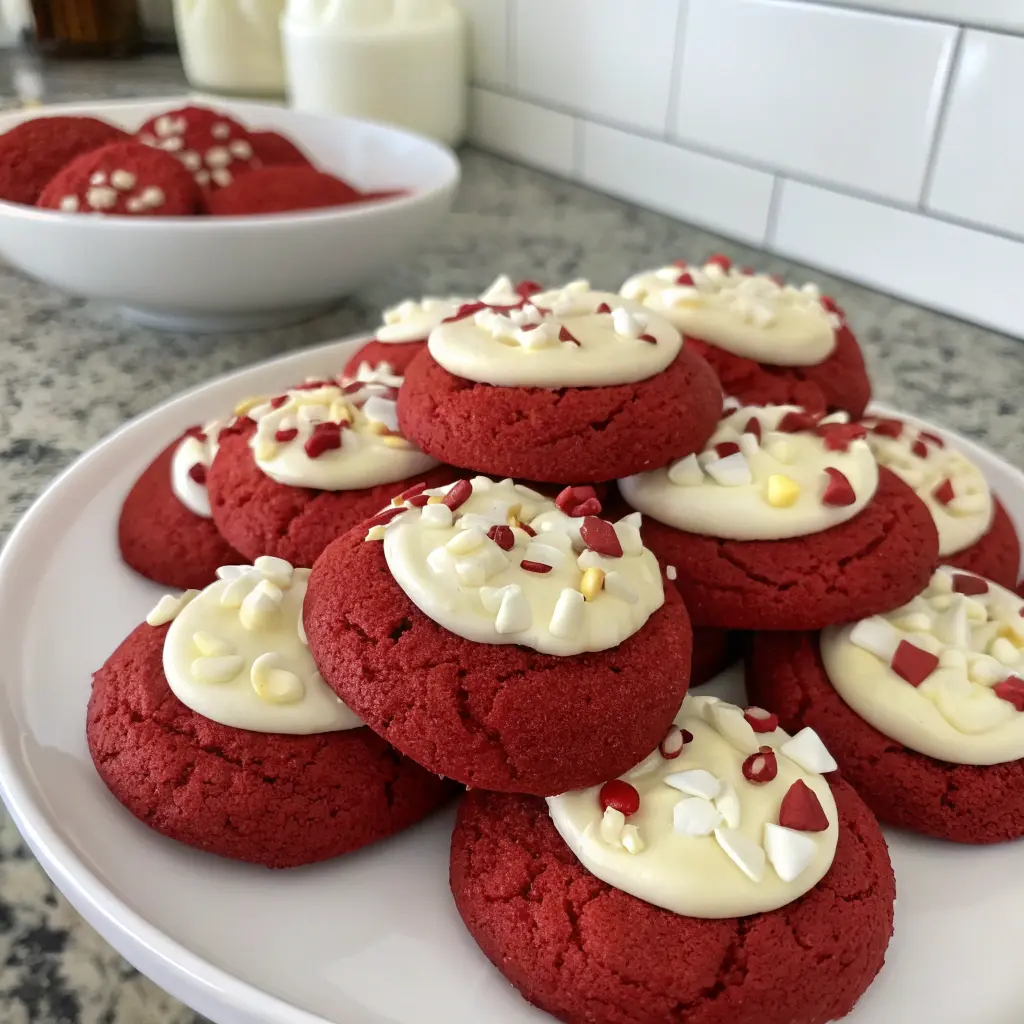
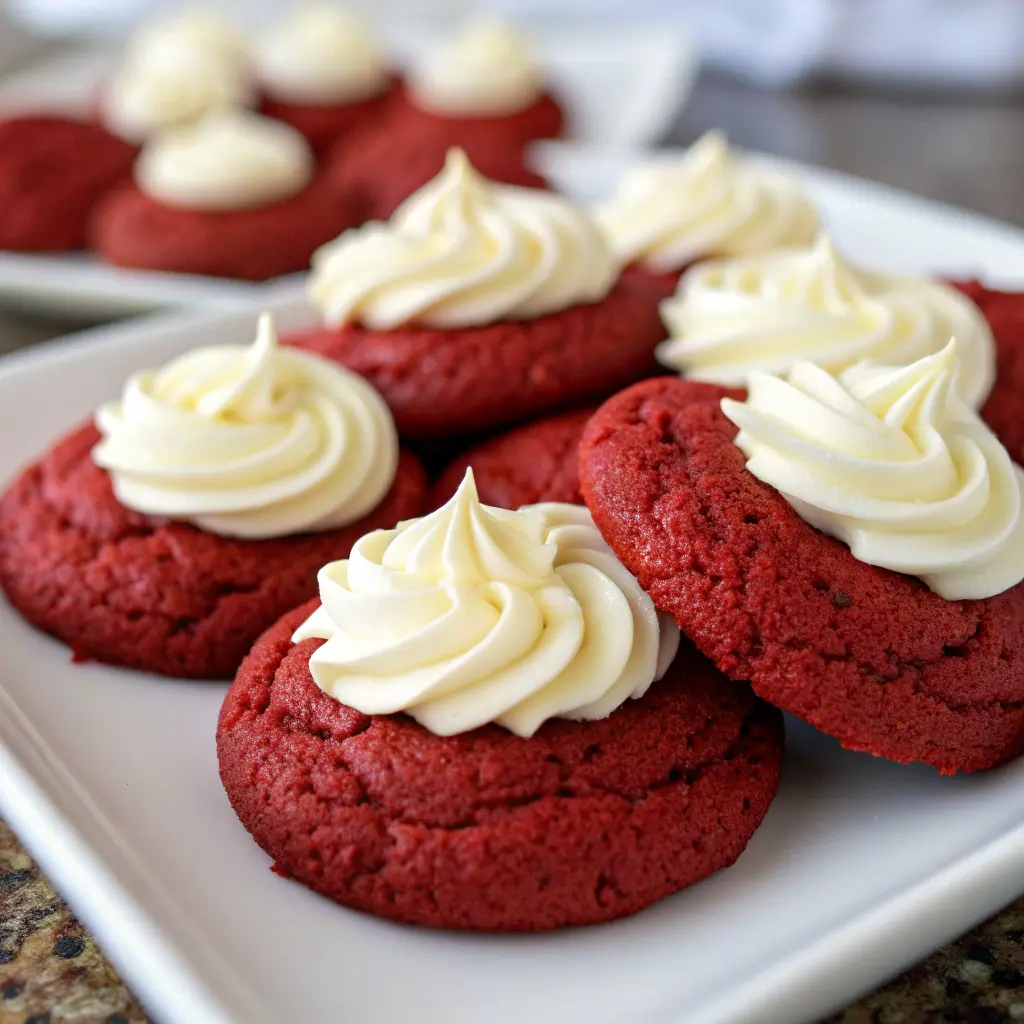
Red Velvet Cookies
My Ultimate Red Velvet Cookies That Make Everything Better
Okay, babe — you know those days when you just need a little sweetness, but also something soft, chocolatey, and a touch fancy? Yeah, that’s exactly what these red velvet cookies bring to the table.
They’re chewy in the center, slightly crisp on the edges, and just dramatic enough to feel like a mini celebration in every bite. The first time I made these, I may or may not have eaten three straight out of the oven while the other dozen were still baking. Don’t judge me — sometimes you just gotta live your best life.
Why I’m Totally Obsessed With These Red Velvet Cookies
Let me break it down for you, girlfriend:
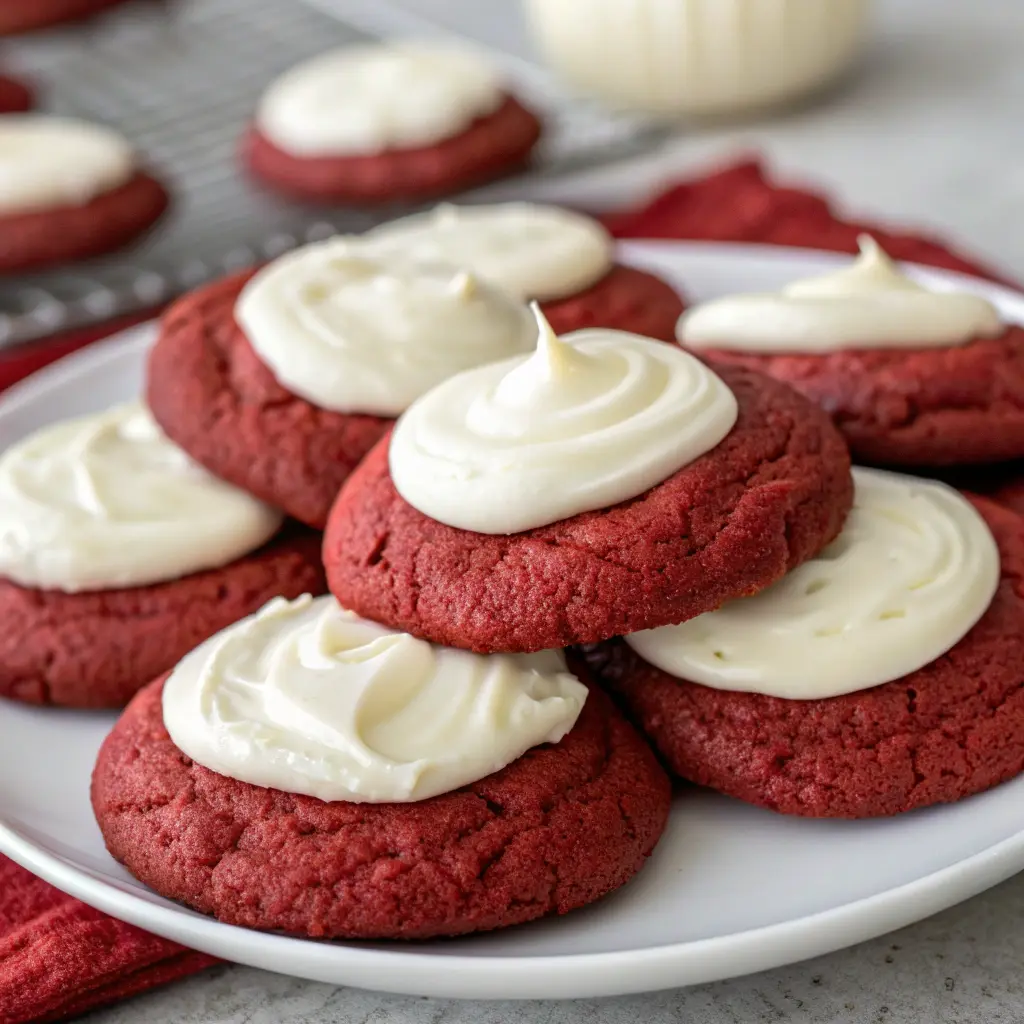
- Soft and chewy, yet perfectly structured – no sad crumbly cookies here.
- Classic red velvet flavor, with a creamy twist – because who doesn’t love a lil’ tangy cream cheese addition?
- Totally show-off worthy, but surprisingly easy – like, you’ll look like a baking goddess without sweating through your shirt.
Honestly, once you make these, they become the cookie you dream about at night and brag about to your friends. True story.
What You’ll Need for These Red Velvet Beauties
Alright, babe, here’s the lineup for maximum cookie magic:
- 1 ½ cups all-purpose flour
- 2 tablespoons unsweetened cocoa powder (just a touch — red velvet is subtle chocolate, not triple-choc)
- ½ teaspoon baking soda
- ¼ teaspoon salt
- ½ cup unsalted butter, softened (the softer, the better — we’re talking pillow-soft vibes)
- ½ cup granulated sugar
- ½ cup brown sugar, packed (brown sugar = chewy goodness)
- 1 large egg
- 1 teaspoon vanilla extract
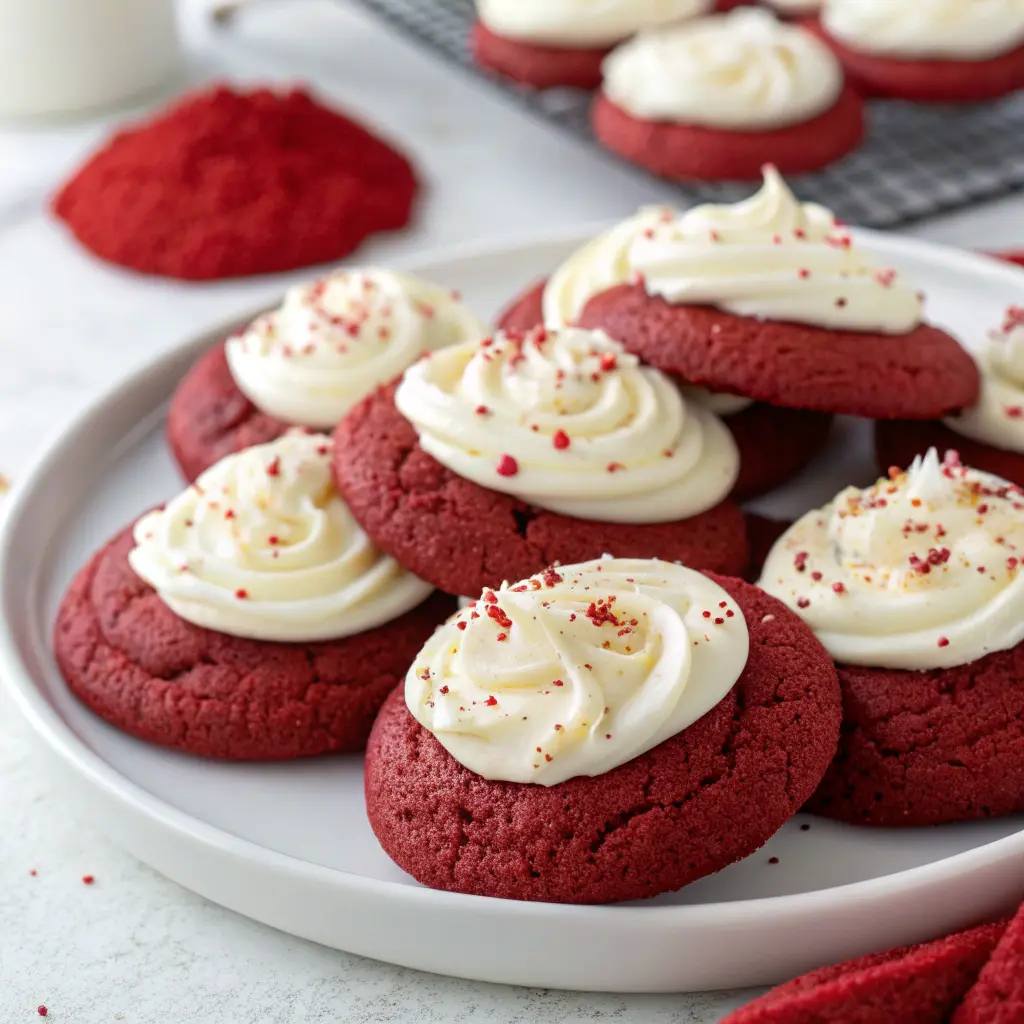
- 1 tablespoon red food coloring (don’t skimp, we want that signature red drama)
- 4 oz cream cheese, softened (for that extra creamy touch — yes, in cookies!)
- Optional: white chocolate chips or chunks for melty surprises
Pro Tip: I once threw in a handful of chopped pecans and babe… let’s just say, next-level. Totally optional, but if you’re feeling fancy, go for it.
How to Make These Red Velvet Cookies (aka: Chewy, Soft, OMG)
1. Prep Your Vibes
First things first, preheat your oven to 350°F (175°C). Line a baking sheet with parchment paper — we’re not trying to wrestle cookies off the pan later.
2. Mix the Dry Stuff
In a medium bowl, whisk together your flour, cocoa powder, baking soda, and salt. Keep it aside — this is your “cookie backbone,” aka the stuff that keeps your cookies from collapsing into sad little puddles.
3. Cream the Butter + Sugars
Grab a big bowl (or stand mixer if you’re fancy) and cream the butter with granulated and brown sugar until it’s light, fluffy, and basically looks like soft clouds of happiness. This part smells like pure joy, babe.
4. Add the Egg, Vanilla, and Food Coloring
Next, beat in your egg, vanilla, and red food coloring until it’s all one gorgeous, red swirl. Look at that color — it’s dramatic, it’s fun, it’s basically your mood in cookie form.
5. Cream Cheese Magic
Now comes the best part: fold in the cream cheese. Yes, cream cheese in cookies. Don’t worry, it won’t make them cheesecake-y, just a little soft, tangy, chewy dream. I usually cube mine first so it blends easily without overmixing.
6. Combine Dry + Wet
Slowly add your flour mixture to the wet ingredients and fold gently until it’s just combined. Overmixing? Big no-no, babe — we want soft cookies, not hockey pucks. If you’re adding white chocolate or nuts, toss them in here too.
7. Scoop Like a Boss
Using a cookie scoop or tablespoon, drop dollops of dough onto your parchment-lined sheet. Space them out because they’ll spread a little — but not too much, we’re not trying to make cookie pancakes.
8. Bake Those Beauties
Pop them in the oven for about 10–12 minutes. Watch the edges for that tiny golden kiss, but the centers should still look slightly soft. Don’t overbake, babe — cookies keep cooking a bit after they come out, and we want chewy, not sad.
9. Cool, But Not Too Long
Let the cookies chill on the sheet for 5 minutes before transferring them to a wire rack. Trust me, if you try to eat them right away, your taste buds will forgive you, but the cookie structure might not.
Maria’s Red Velvet Cookie Tips (aka: What I Learned The Hard Way)
- Soft butter = soft cookies: I once used fridge-cold butter, and babe… disaster. Don’t do it.
- Don’t skip the cream cheese: Seriously, it’s a game-changer.
- Food coloring matters: A lil’ dab won’t cut it — you want that deep, gorgeous red.
- Watch the bake time: One minute too long = crunchy edges, sad center. Keep your eyes peeled.
- Mix-ins are your playground: White chocolate, pecans, or even mini marshmallows — your vibe, your rules.
Red Velvet Cookie FAQ (aka: Maria Got You Covered)
Can I freeze the dough?
Totally. Scoop into a container and freeze. Pop them in the oven straight from frozen — just add 2 extra minutes.
Can I use a different type of sugar?
Brown + white sugar = chewy perfection. You can experiment, but don’t say I didn’t warn you.
Why are my cookies flat?
Probably butter too soft or over-mixing. Stick to my steps, queen.
Can I skip the cream cheese?
Yes, but babe, why would you? It’s literally the secret ingredient that makes these unforgettable.
You Did It, Queen!
Look at you — baking up red velvet cookie magic like a straight-up kitchen goddess. If your kitchen smells like chocolate-y heaven and your hands are dusted in flour and sugar… girl, that’s the vibe we live for.
These cookies are perfect for snacking, gifting, or just sitting on the couch and binge-watching your favorite show while eating three in a row (no judgment, I’ve been there).
So grab a glass of milk, a plate, and celebrate your hard work — these cookies deserve to be devoured, appreciated, and maybe even photographed for the ‘Gram (or just your own foodie scrapbook, no pressure).
Messy hair, happy heart, and cookies in hand — that’s the Red Velvet Cookie life, babe.
Big hugs and sweet crumbs,
Maria

Red Velvet Cookies
Ingredients
- 1 ½ cups all-purpose flour
- 2 tablespoons unsweetened cocoa powder just a touch — red velvet is subtle chocolate, not triple-choc
- ½ teaspoon baking soda
- ¼ teaspoon salt
- ½ cup unsalted butter softened (the softer, the better — we’re talking pillow-soft vibes)
- ½ cup granulated sugar
- ½ cup brown sugar packed (brown sugar = chewy goodness)
- 1 large egg
- 1 teaspoon vanilla extract
- 1 tablespoon red food coloring don’t skimp, we want that signature red drama
- 4 oz cream cheese softened (for that extra creamy touch — yes, in cookies!)
- Optional: white chocolate chips or chunks for melty surprises
Instructions
Prep Your Vibes
- First things first, preheat your oven to 350°F (175°C). Line a baking sheet with parchment paper — we’re not trying to wrestle cookies off the pan later.
Mix the Dry Stuff
- In a medium bowl, whisk together your flour, cocoa powder, baking soda, and salt. Keep it aside — this is your “cookie backbone,” aka the stuff that keeps your cookies from collapsing into sad little puddles.
Cream the Butter + Sugars
- Grab a big bowl (or stand mixer if you’re fancy) and cream the butter with granulated and brown sugar until it’s light, fluffy, and basically looks like soft clouds of happiness. This part smells like pure joy, babe.
Add the Egg, Vanilla, and Food Coloring
- Next, beat in your egg, vanilla, and red food coloring until it’s all one gorgeous, red swirl. Look at that color — it’s dramatic, it’s fun, it’s basically your mood in cookie form.
Cream Cheese Magic
- Now comes the best part: fold in the cream cheese. Yes, cream cheese in cookies. Don’t worry, it won’t make them cheesecake-y, just a little soft, tangy, chewy dream. I usually cube mine first so it blends easily without overmixing.
Combine Dry + Wet
- Slowly add your flour mixture to the wet ingredients and fold gently until it’s just combined. Overmixing? Big no-no, babe — we want soft cookies, not hockey pucks. If you’re adding white chocolate or nuts, toss them in here too.
Scoop Like a Boss
- Using a cookie scoop or tablespoon, drop dollops of dough onto your parchment-lined sheet. Space them out because they’ll spread a little — but not too much, we’re not trying to make cookie pancakes.
Bake Those Beauties
- Pop them in the oven for about 10–12 minutes. Watch the edges for that tiny golden kiss, but the centers should still look slightly soft. Don’t overbake, babe — cookies keep cooking a bit after they come out, and we want chewy, not sad.
Cool, But Not Too Long
- Let the cookies chill on the sheet for 5 minutes before transferring them to a wire rack. Trust me, if you try to eat them right away, your taste buds will forgive you, but the cookie structure might not.
Notes
- Butter: Softened, not melted, for best texture.
- Cream Cheese: Adds chewiness and subtle tang — don’t skip it!
- Food Coloring: Deep red gives that classic red velvet vibe; adjust to your preference.
- Add-ins: White chocolate, pecans, or chocolate chunks all work beautifully.
- Storage: Keep in an airtight container for up to 4 days. Freeze dough for up to 2 months.
- Baking Tip: Slightly underbake for soft, chewy centers — cookies continue to cook on the sheet after removing from the oven.