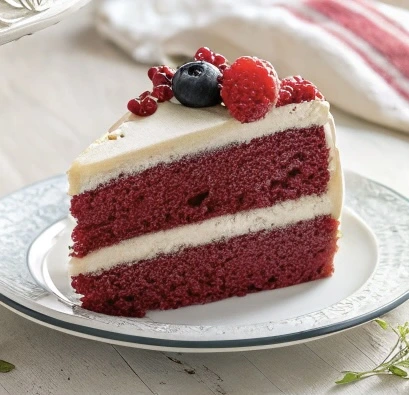
Red Velvet Cake
Red Velvet Cake That Feels Like a Warm Hug
Okay babe, lemme tell you — there’s just something about Red Velvet Cake that feels like pure love.
Like, you take one bite and boom — cozy vibes, happy memories, and maybe a lil’ tear if you’re feeling dramatic (been there).
The first time I made it? Total chaos — red batter everywhere, kitchen looking like a crime scene — but girl, it was SO worth it.
Now I’ve got it down to a cute, no-stress science.
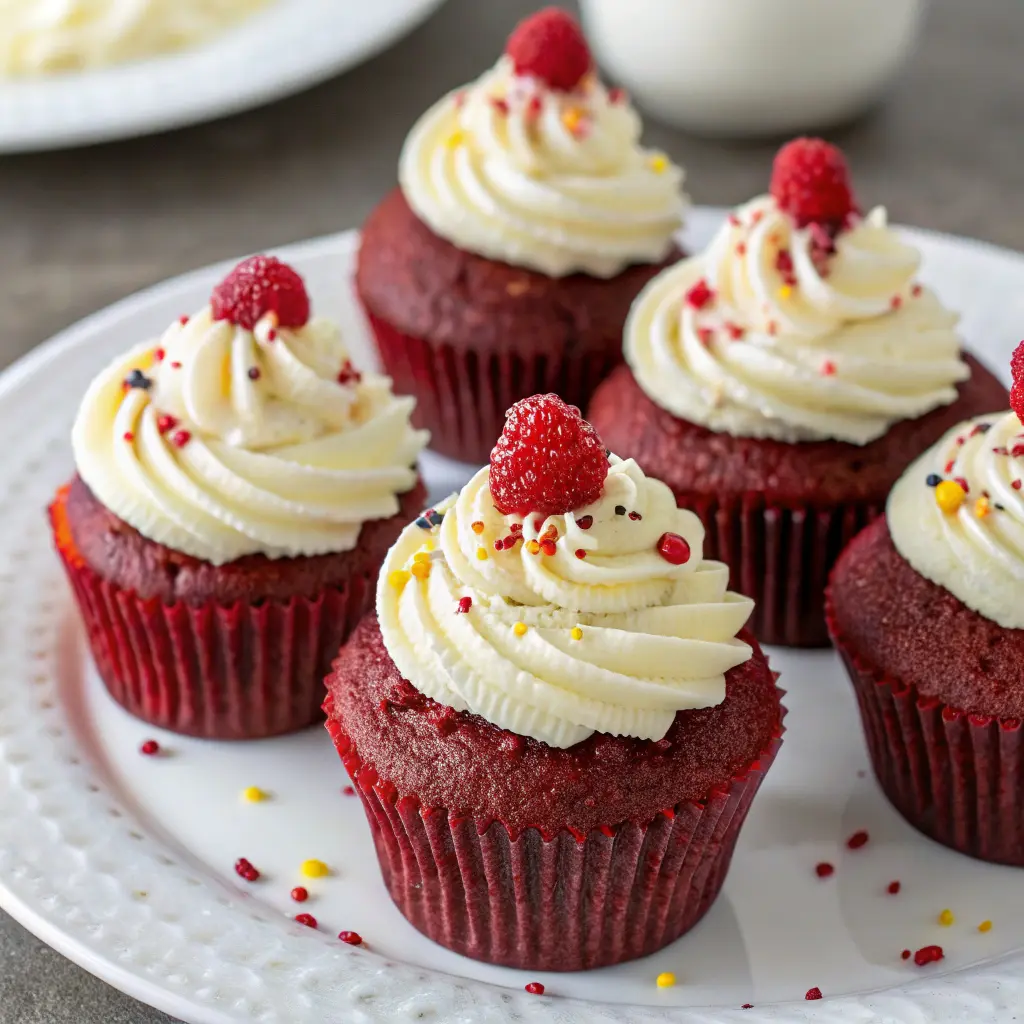
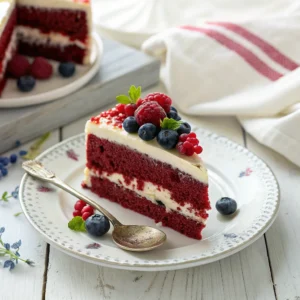
This Red Velvet Cake is soft, rich, just the right amount of chocolatey, and that dreamy cream cheese frosting on top? Chef’s kiss.
Perfect for birthdays, random Tuesdays, or anytime you just need a little more love on your plate.
Why This Red Velvet Cake Is Basically a Love Story in Every Bite
Girl, listen — this Red Velvet Cake isn’t just dessert, it’s a whole dang experience.
It’s fluffy but rich, sweet but not too sweet, and that little cocoa kick? Ugh, it just hits different.
First time I tried baking it, I thought I messed up because the batter looked wild — but when it came out of the oven all soft and gorgeous? I almost cried, not even kidding.
Now it’s my go-to anytime I wanna feel a lil’ extra — birthdays, cozy nights in, breakups (lol), you name it.
One slice and you’ll be like, “Okay, who needs a boyfriend when I have this cake?”
What You’ll Need for This Red Velvet Magic
Alright babe, grab your cutest apron (or stay in your PJs — no judgment), here’s all the good stuff you need to whip up this dreamy Red Velvet Cake:
- 2 ½ cups all-purpose flour (basic but essential)
- 2 tablespoons cocoa powder (unsweetened, because we fancy like that)
- 1 teaspoon baking soda (the rise and shine hero)
- ½ teaspoon salt (tiny pinch, big difference)
- 1 ½ cups sugar (sweet but not toothache-sweet)
- 1 cup vegetable oil (keeps it moist and lush, trust)
- 2 large eggs (room temp, babes — it makes a difference!)
- 1 cup buttermilk (if you don’t have any, don’t panic — I’ll tell you a hack later)
- 2 teaspoons vanilla extract (because duh, flavor!)
- 1 teaspoon white vinegar (weird? maybe. Important? absolutely.)
- 1 to 2 tablespoons red food coloring (go big or go home, queen)
Pro Tip:
Once, I ran outta food coloring and my cake looked like a sad brown pancake… still tasted bomb though. But lesson learned: color is the drama we deserve.
Let’s Bake Some Red Velvet Magic, Babe
1. Set the Mood (and Preheat That Oven!)
First things first — preheat your oven to 350°F (175°C).
Grease and lightly flour two 8-inch cake pans, because stuck cakes are NOT part of the plan, okay?
I usually use this time to blast some music and pretend I’m on a baking show. (Highly recommend if you wanna feel like a queen.)
2. Whisk the Dry Stuff
Grab a big bowl and whisk together the flour, cocoa powder, baking soda, and salt.
No fancy tricks here — just a quick mix to make sure everything’s blended and smooth. Clumpy batter? Not in this house!
3. Make That Buttery Magic
In another bowl, beat the butter and sugar until it’s all light, fluffy, and looking like a sweet cloud.
Add your eggs one at a time, giving each one a good mix-in. Then stir in that little splash of vanilla — it’s small but mighty, babe.
4. Bring on the Velvet Vibes
In a small cup, mix your buttermilk with the red food coloring until it’s looking vibrant and happy.
Now, take turns adding the dry mix and the red buttermilk into your butter mixture.
Go slow, don’t rush it — this is where the magic starts to build, layer by gorgeous layer.
5. Bake It Up, Baby
Pour the dreamy batter into your pans and smooth the tops out (I like giving the pans a tiny shimmy too — good cake karma).
Bake for around 30 minutes, or until a toothpick poked in the center comes out clean.
Let the cakes cool completely — seriously, babe, don’t rush it — before you bring on the frosting love!
Decorating Tips (Keep It Cute, Babe)
Cool it down:
Girl, let those cakes cool completely — unless you want your frosting to slide off like a sad mess (been there, done that).
Fluffy frosting only:
Whip that cream cheese till it’s smooth and dreamy. A tiny splash of milk can save the day if it’s too thick!
Do a crumb coat:
First, slap on a thin layer of frosting to lock those crumbs down. Chill it quick, then go wild with the final layer.
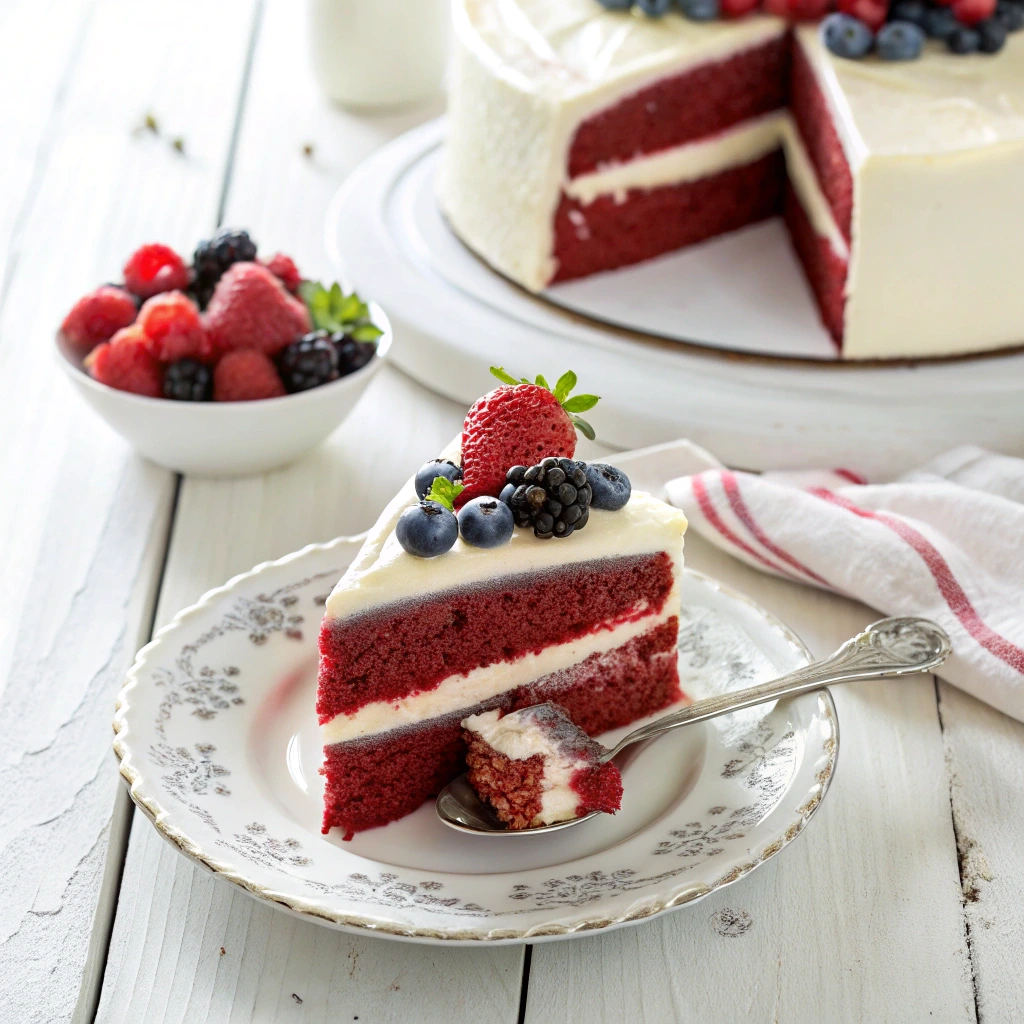
Add some flair:
Crushed crumbs, berries, sprinkles — whatever makes you feel like a cake boss. Own it, queen!
Red Velvet Cake FAQ (Maria’s “Oops but Make it Sweet” Moments!)
Why does my Red Velvet sometimes taste bitter?
Girl, one time I got way too excited with the food coloring and poured half the bottle… Big mistake. Less is more! Stick to the right amount and you’ll get that dreamy taste without the weird aftershock.
Can I skip the vinegar in the recipe?
Babe, please don’t! I tried it once because I was lazy, and my cake came out looking sad and tasting even sadder. The vinegar keeps it fluffy and that red color poppin’ — trust the process!
What if I don’t have buttermilk on hand?
No buttermilk, no meltdown! I mix regular milk with a tiny splash of lemon juice and wait 5 minutes. One time I forgot and still poured it — cake was still slaying. You got this.
How do I get my frosting super smooth?
Chill everything, even the bowl! I once whipped frosting in a hot kitchen… looked like melted dreams. Now I pop my tools in the fridge first — game changer, babe.
Can I make it ahead for a party?
Absolutely! I made one the night before a BBQ and it actually tasted better the next day. Just wrap it tight, hide it from snack thieves, and show up with main character energy!
You Did It, Babe!
Look at you, baking like an absolute queen!
This Red Velvet Cake is pure love wrapped in frosting — just like you.
If you had even half as much fun making it as I did sharing it, girl, we’re basically besties now.
Stick around for more sweet (and slightly chaotic) recipes, because here? We celebrate the messy buns, the flour-covered counters, and the big, happy bites.
Catch you in the kitchen again soon, babe — and don’t forget: you’re doing amazing, sweetie!
Big love,
Maria
Red Velvet Cake
Equipment
- 2 8-inch round cake pans 20 cm
- Mixing bowls
- Hand or stand mixer
- Whisk
- Spatula
- Cooling rack
Ingredients
- 2 ½ cups all-purpose flour Sifted for extra fluffiness
- 2 tablespoons Cocoa powder (unsweetened)
- 1 teaspoon Baking soda
- ½ teaspoon Salt
- 1 ½ cups Sugar
- 1 cup Vegetable oil Or melted butter if preferred
- 2 large eggs Room temperature
- 1 cup buttermilk room temperature
- 1 tablespoons red food coloring
- 2 teaspoon vanilla extract Don’t skip this magic!
- 1 teaspoon White vinegar Helps the texture pop
For the Frosting:
- 8 oz(225g) cream cheese softened
- ½ cup butter softened
- 2 cups powdered sugar Sifted
- 1 teaspoon vanilla extract
Instructions
- Prep Your Vibe (and Your Oven)Preheat your oven to 350°F (175°C).Grease and flour two 8-inch cake pans. (Pro tip: Line the bottoms with parchment paper for zero drama.)
- Mix the Dry Dream TeamIn a bowl, whisk together the flour, cocoa powder, baking soda, and salt. Set it aside — it’s about to meet its destiny.
- Cream the MagicIn a big bowl, beat the sugar and oil together until smooth. Add the eggs, one at a time, mixing well after each. Stir in the vanilla extract.
- Paint It RedMix in the food coloring and vinegar — your batter should be vibrantly red and ready for action.
- Bring It All TogetherAdd the dry ingredients to the wet in three parts, alternating with the buttermilk. (Dry, buttermilk, dry, buttermilk, dry — you got this, babe!)
- Bake That BeautyPour the batter evenly into the prepared pans. Bake for 30–35 minutes, or until a toothpick comes out clean.Let cool in the pans for 10 minutes, then turn onto a rack to cool completely.
- Make That FrostingBeat the cream cheese and butter until creamy and smooth. Gradually add the powdered sugar, then the vanilla. Beat until fluffy and irresistible.
- Frost Like You Mean ItLayer your cooled cakes with a thick spread of frosting. Cover the top and sides too — this is your edible masterpiece!
Notes
- No buttermilk? Easy swap: 1 cup milk + 1 tablespoon vinegar or lemon juice. Let it sit 5 minutes.
- Want extra drama? Add a second coat of frosting (called a “crumb coat”) and chill the cake before the final layer.
- Make ahead: You can bake the cake layers a day before and frost them fresh the next day.