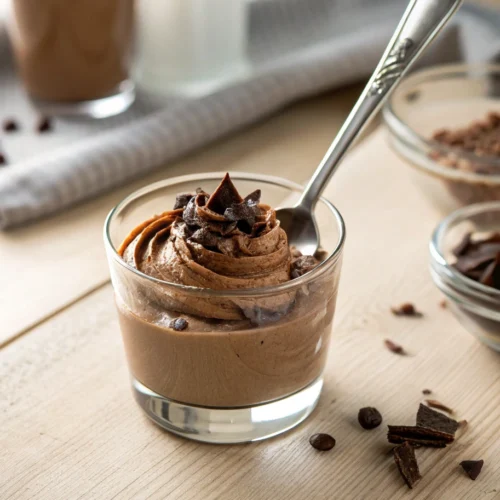
Quick chocolate mousse
Quick Chocolate Mousse: The Life-Changing Treat You Didn’t Know You Needed
Okay, real talk…
I used to think chocolate mousse was only for fancy restaurants or big events. Making it at home? That sounded like rocket science to me.
But one crazy afternoon, craving something sweet and fast, I decided to give it a shot—and guess what?
This Quick Chocolate Mousse changed everything!
One spoonful, and I swear, it was like floating on a chocolatey cloud.
Why This Chocolate Mousse Is Pure Magic ?
Girls, I’m telling you — this chocolate mousse is like finding a secret dessert shortcut you’ll wanna keep forever.
First of all, it’s laughably easy — no ovens heating up the whole house, no fancy gadgets that you don’t even know how to use, and zero running around hunting for weird ingredients.
It’s just real, simple goodness that comes together faster than you can say “chocolate fix!”
And let’s be real, it’s a total lifesaver for those “oh no, guests are coming!” moments or those nights when you just need something sweet, fast, and homemade — like a little chocolate hug in a cup.
And that texture, babe? Light, fluffy, and so dreamy it almost feels like you’re scooping clouds — chocolate clouds. Honestly, it’s pure magic in every bite!
Ingredients:
- 200g good-quality dark chocolate
- 300ml cold heavy cream
- 1 teaspoon vanilla extract
- A tiny pinch of salt
Plus whatever fun toppings your heart desires—we’ll get to that soon!
How to Make Chocolate Mousse (The Dreamiest Step-by-Step Guide)
1. Melt the Chocolate with a Whole Lotta Love
Girls, let me tell you—first time I tried, I was so impatient I tossed the chocolate straight onto the heat… and yep, it burnt to a sad little crisp. Rookie mistake!
Now? I always go slow, using a cozy little double boiler, stirring gently like I’m writing a love letter with my spoon. Trust me, your chocolate deserves all the TLC.
2. Whip Up That Dreamy Creame Dream Cream
Grab a cold bowl (seriously, it makes a difference!) and whip that heavy cream until it’s light and fluffy, like a sweet little cloud.
Word of warning: if you get too excited and keep whipping, you’ll cross over into butter territory. Been there. Laughed. Learned. So keep an eye out and stop when it’s soft and dreamy!
3. Fold Like You’re Hugging a Cloud
Start by stirring a spoonful of whipped cream into your melted chocolate to loosen it up. Then, oh-so-gently, fold the rest in.
Imagine you’re cuddling a tiny cloud—you want to keep every bit of that gorgeous fluffiness. No rough moves here, just soft, loving folds.
4. Chill Out (The Hardest Part!)
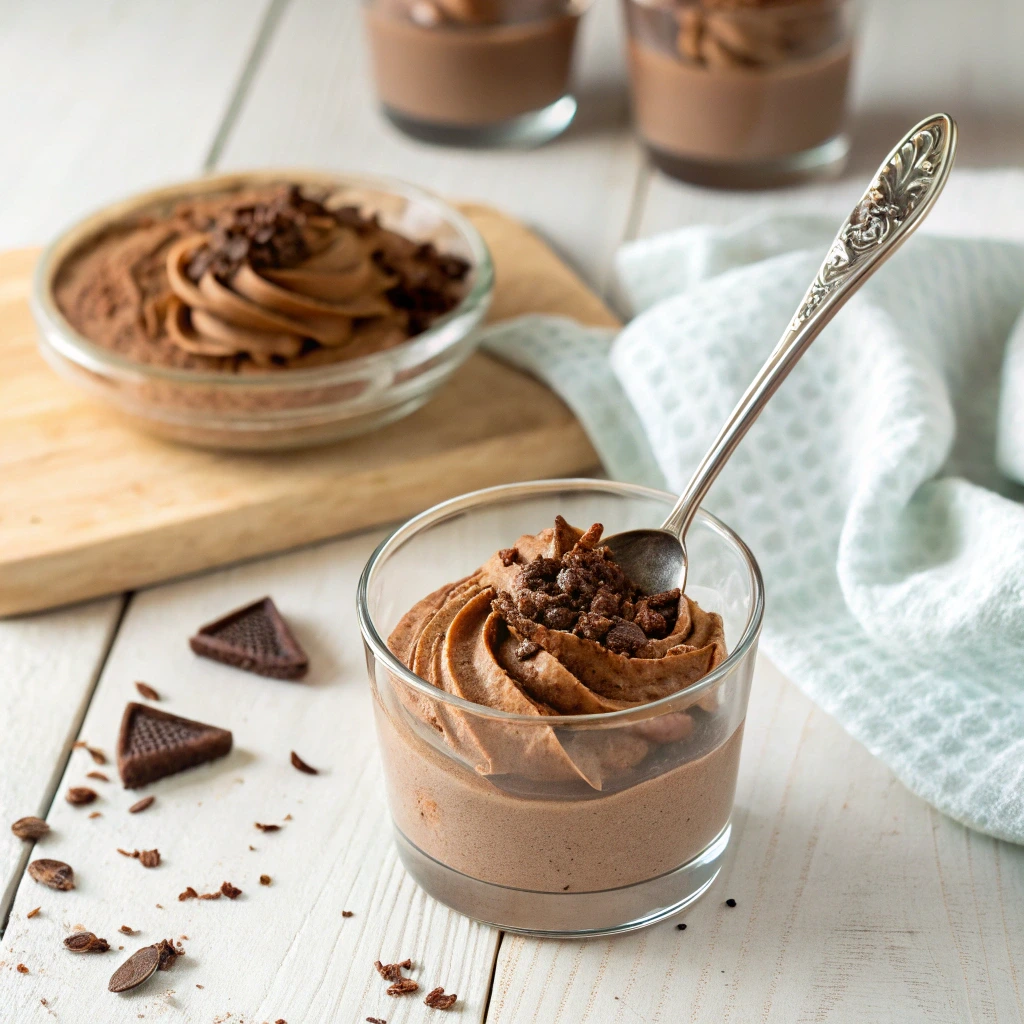
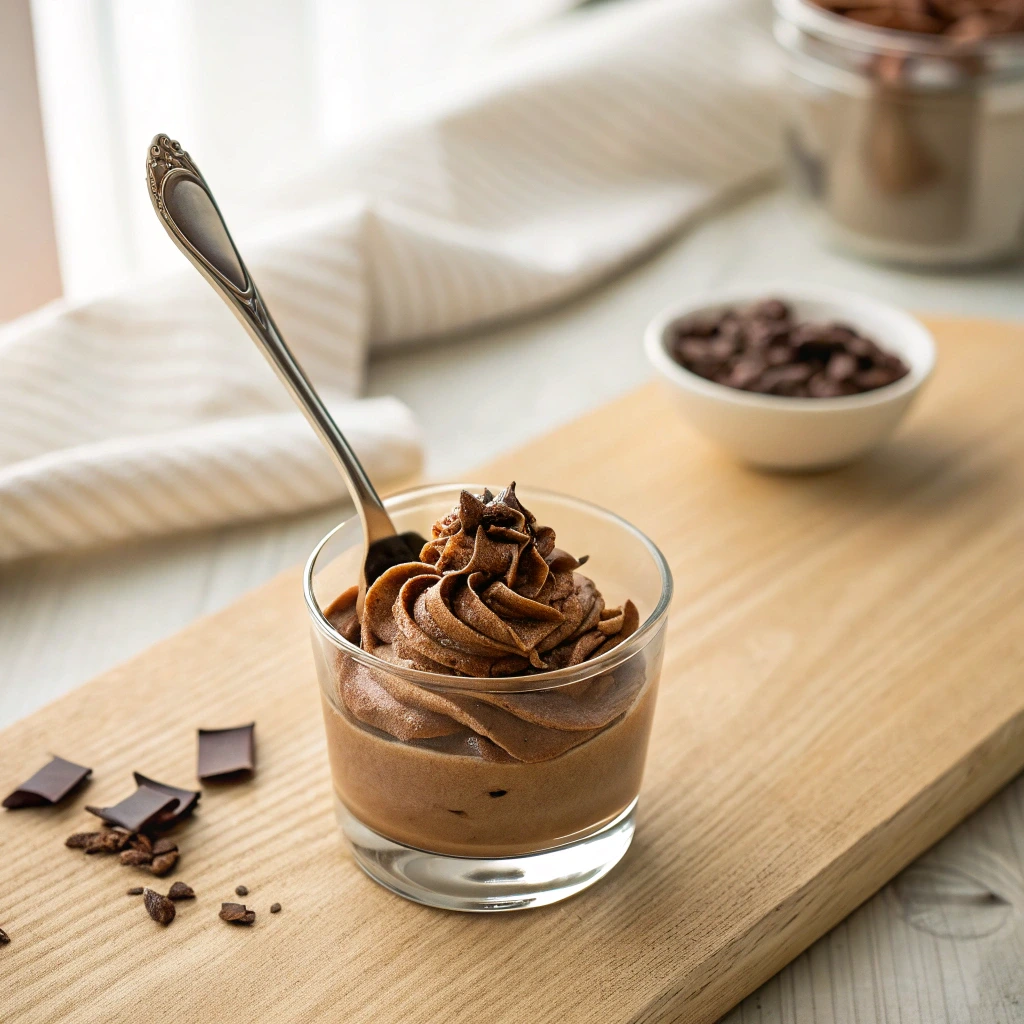
Gently spoon that chocolatey goodness into your cutest little glasses, and let them chill out in the fridge like they’re getting ready for a party.
And then… you wait. Honestly, this is the real struggle. But girl, that first dreamy spoonful after chilling? Totally worth every second of the wait.
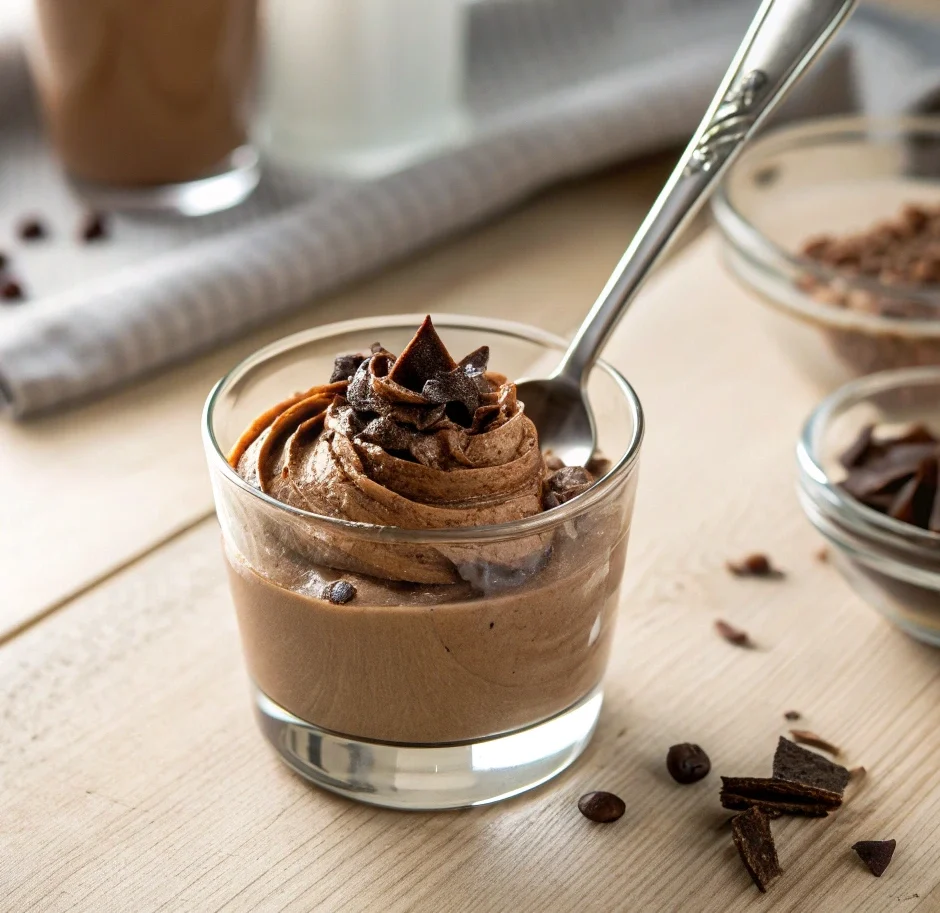
Fun Ways to Decorate and Serve Your Chocolate Mousse
- Lightly dust some cocoa powder on top — it’s like giving your mousse a cozy little winter sweater.
- Drop a few fresh strawberries on there for that bright pop of color (and because strawberries + chocolate = soulmates).
- Take a minute to grate a little extra chocolate on top — trust me, it’ll make you feel like you just earned your own cooking show.
Honestly? You’ll sit back, spoon in hand, feeling like a total kitchen rockstar… with almost no effort at all!
Chocolate Mousse FAQ (From Maria’s Kitchen Disasters to Sweet Wins!)
Can I use any kind of chocolate for this mousse?
Oh girl, let me tell you — one time, I thought using that super cheap baking chocolate was a genius budget hack. Big mistake. The mousse ended up tasting kinda waxy and sad. Now I always stick with good-quality semi-sweet or dark chocolate. It honestly makes the difference between “meh” and “oh-my-gosh-I-need-another-bite!”
What if I don’t have a double boiler to melt the chocolate?
Been there! The first time I made mousse, I tried melting chocolate directly in a pot. Let’s just say… it turned into a burnt, tragic lump.
Now, I just use a regular heatproof bowl over a pot of simmering water—easy, old-school trick my grandma taught me when I was like ten and wanted to “help” in the kitchen (spoiler: I mostly just made a mess back then).
How do I know when the whipped cream is ready?
Honestly? I learned the hard way. I once whipped the cream so much, I basically made butter. I even cried a little because I thought I ruined dessert for my sister’s birthday!
Now, I stop whipping when it’s soft, fluffy, and holds gentle peaks. If you’re second-guessing yourself, better to under-whip a little—you can always give it another few turns.
Is it okay to chill the mousse for less than an hour if I’m in a hurry?
Haha, oh girl, I tried rushing it once because I couldn’t wait. Let’s just say it was more like chocolate soup than mousse.
If you want that perfect, dreamy texture, you gotta let it chill at least an hour (even though waiting feels like torture sometimes!). Now, I make it ahead and distract myself with Netflix till it’s ready.
Can I make chocolate mousse ahead for a party?
Absolutely! And trust me, it’s a lifesaver. I once prepped it the night before a little backyard get-together, and when guests showed up, I was chilling like the hostess queen I always wanted to be.
The mousse actually gets even better overnight — richer, fluffier, and you don’t have to stress last minute. Win-win, babe.
And hey, if you made it all the way here with me, you’re officially part of the chocolate mousse lovers club — no fancy membership card needed, just a good spoon and a sweet craving.
Making this easy chocolate mousse isn’t just about whipping up a quick dessert, it’s about giving yourself those little moments of pure, guilt-free joy.
Every spoonful is like a tiny reminder: life’s better when you slow down and let the simple things (like chocolate) work their magic.
Thanks a million for hanging out with me today — seriously, you just made my kitchen (and my heart) a little warmer!
And remember: if anyone asks why you’re making chocolate mousse again next week… just tell them it’s “self-care.” (Because it totally is.)
See you back here soon, babe — I’ll keep the chocolate ready and the laughs even readier!
With love,
Maria
Quick chocolate mousse
Equipment
- 1 Double boiler Or a heatproof bowl over a pot
- 1 Mixing bowl Preferably cold
- 1 Whisk or hand mixer To whip the heavy cream
- 1 Rubber spatula For gentle folding
- 4 Serving glasses Small and cute ones recommended
Ingredients
- 200 g Dark chocolate Good quality preferred
- 300 ml Heavy cream (cold)
- 1 tsp Vanilla extract
- 1 pinch Salt Tiny pinch
- As desired Toppings (cocoa powder, strawberries, grated chocolate) Optional
Instructions
- Melt the chocolate: Gently melt the dark chocolate using a double boiler, stirring slowly with love and care. Don’t rush this step!
- Whip the cream: In a cold bowl, whip the heavy cream until it forms soft, fluffy peaks. Be careful not to over-whip!
- Combine: Stir a spoonful of whipped cream into the melted chocolate to loosen it up, then gently fold in the rest, preserving all that beautiful fluffiness.
- Chill: Spoon the mousse into small glasses and chill in the refrigerator for about 1 hour.
- Serve and enjoy: Decorate with your favorite toppings like cocoa powder, strawberries, or grated chocolate. Dive in and enjoy every heavenly bite!
Notes
- For best results, always use high-quality chocolate — it truly makes all the difference in flavor and texture.
- Cold utensils help cream whip faster and better!
- Feel free to prepare the mousse a day ahead for even richer texture.
- If you’re in a real rush, 30–40 minutes of chilling will still give you a delicious mousse, just a little softer.