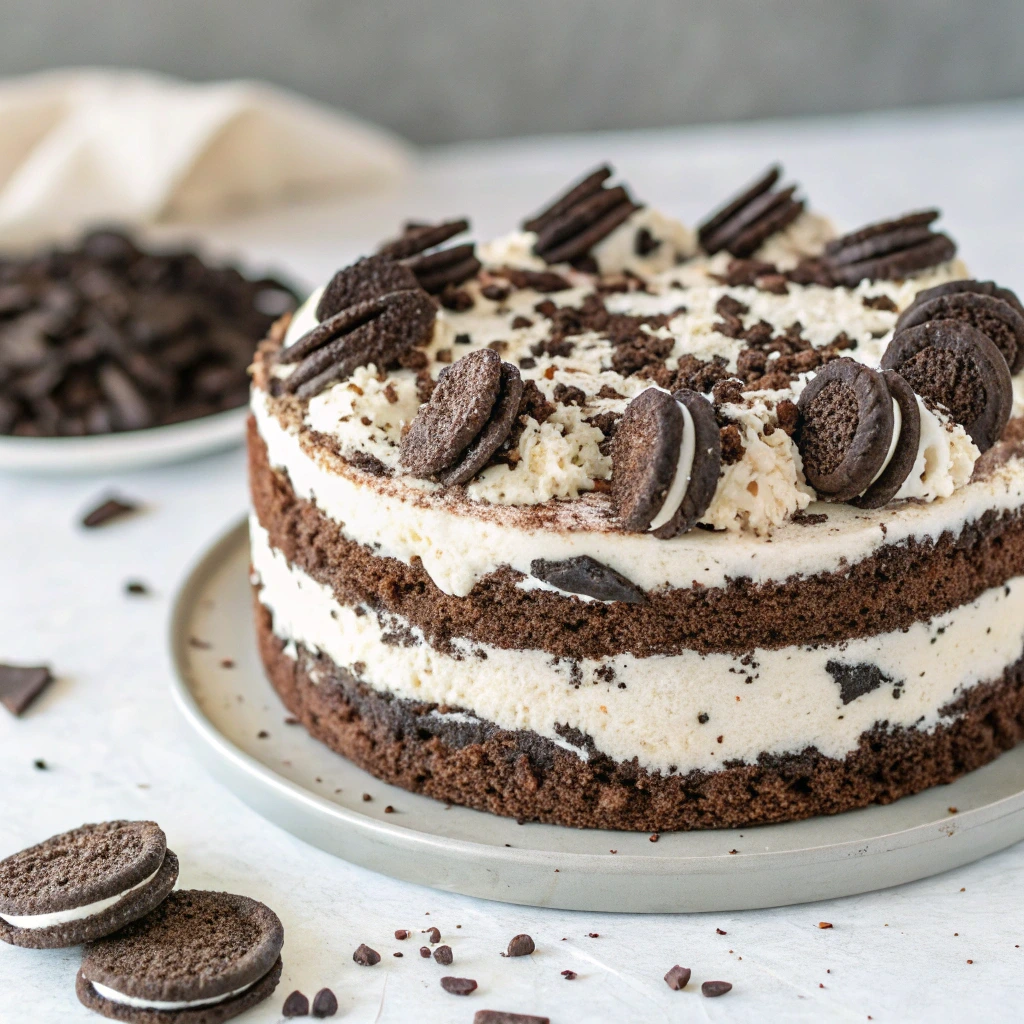
Oreo Cake
The No-Bake Oreo Cake That Stole My Heart
because who has time for ovens anyway?
Girl, let me tell you — this Oreo cake wasn’t planned.
One hot summer afternoon, I was craving something creamy, chocolatey, and just extra… but I refused to turn on the oven. So I raided my pantry, found Oreos, cream cheese, and some magic in a tub (aka whipped cream), and boom — the no-bake Oreo cake was born.
And babe… let me just say, it’s dangerously good. Like “I’ll just have a small slice” and then suddenly you’re eating from the pan kinda good.
Why I Keep Coming Back to This Oreo Cake
It’s creamy, dreamy, and takes legit 15 minutes to throw together. No oven. No baking drama. Just mix, layer, chill, and devour.
It quickly became that dessert my friends ask for every time they come over.
I even made it once at midnight after a breakup — and girl, let me tell you, it healed me faster than any text back ever could.
So yeah, this one’s personal.
What You’ll Need (aka your grocery love list)
- 24 Oreo cookies (plus a few extra for garnish, of course)
- 2 tbsp melted butter
- 1 cup cold heavy whipping cream
- 8 oz cream cheese, softened
- ½ cup powdered sugar
- 1 tsp vanilla extract
Optional: melted chocolate, extra Oreos, or sprinkles to glam it up
Pro Tip from Maria:
Don’t skimp on the vanilla — it makes the filling taste like actual cheesecake and not just “sweet something.”
How to Make My Lazy Girl Oreo Cake
Because we’re not here to stress.
1. Crush the Oreos
Put those cookies in a ziplock bag and smash away with a rolling pin (very therapeutic btw). Mix them with melted butter until it feels like wet sand. Press into the base of your cake pan or individual cups. Boom — your crust is done.
2. Make the creamy dreamy layer
Whip your cold cream into stiff peaks (like lil’ clouds). In another bowl, beat cream cheese, powdered sugar, and vanilla until smooth. Gently fold in your whipped cream. It should be light, fluffy, and dangerous to taste because you won’t stop.
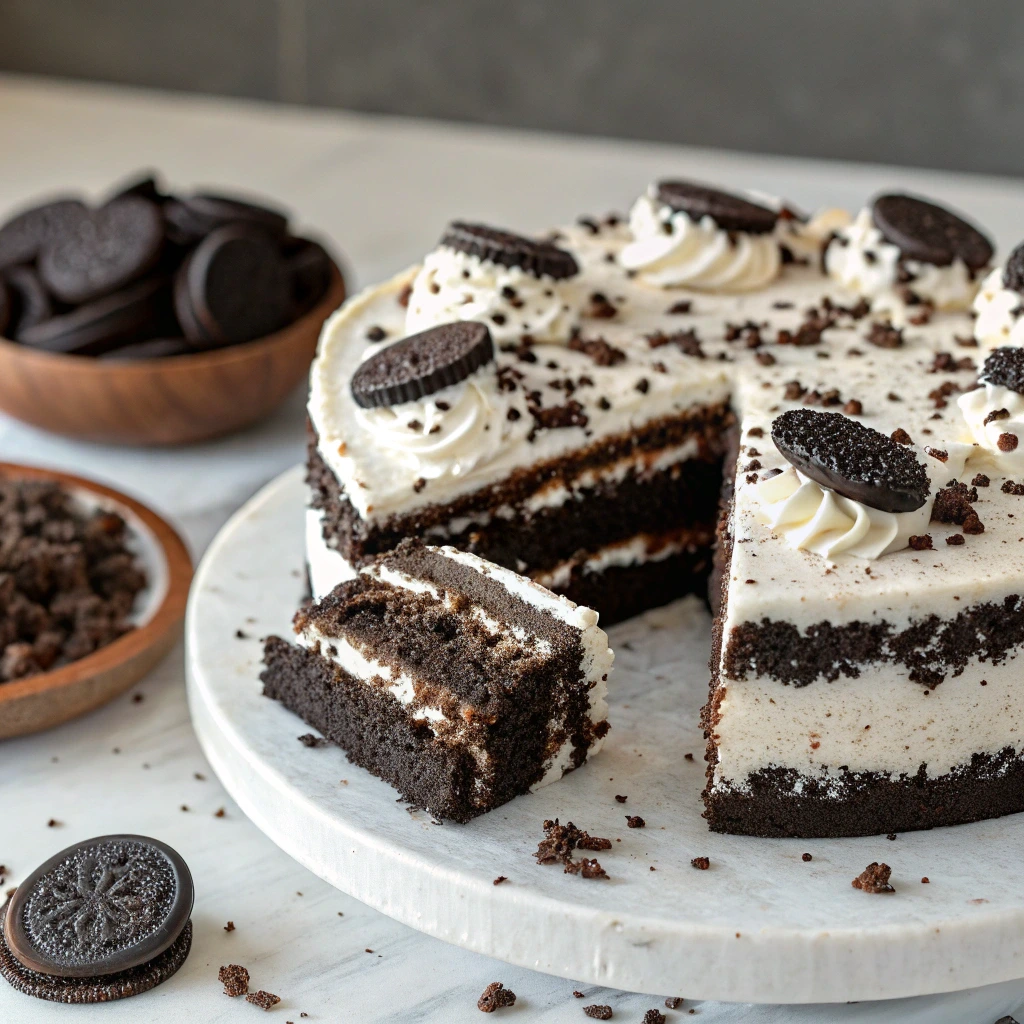
3. Layer it up
Spoon the filling over your crust and smooth it out. If you’re feeling extra, do a second Oreo layer in the middle — I always do. Refrigerate for at least 3 hours (I know, torture), or overnight if you’re patient.
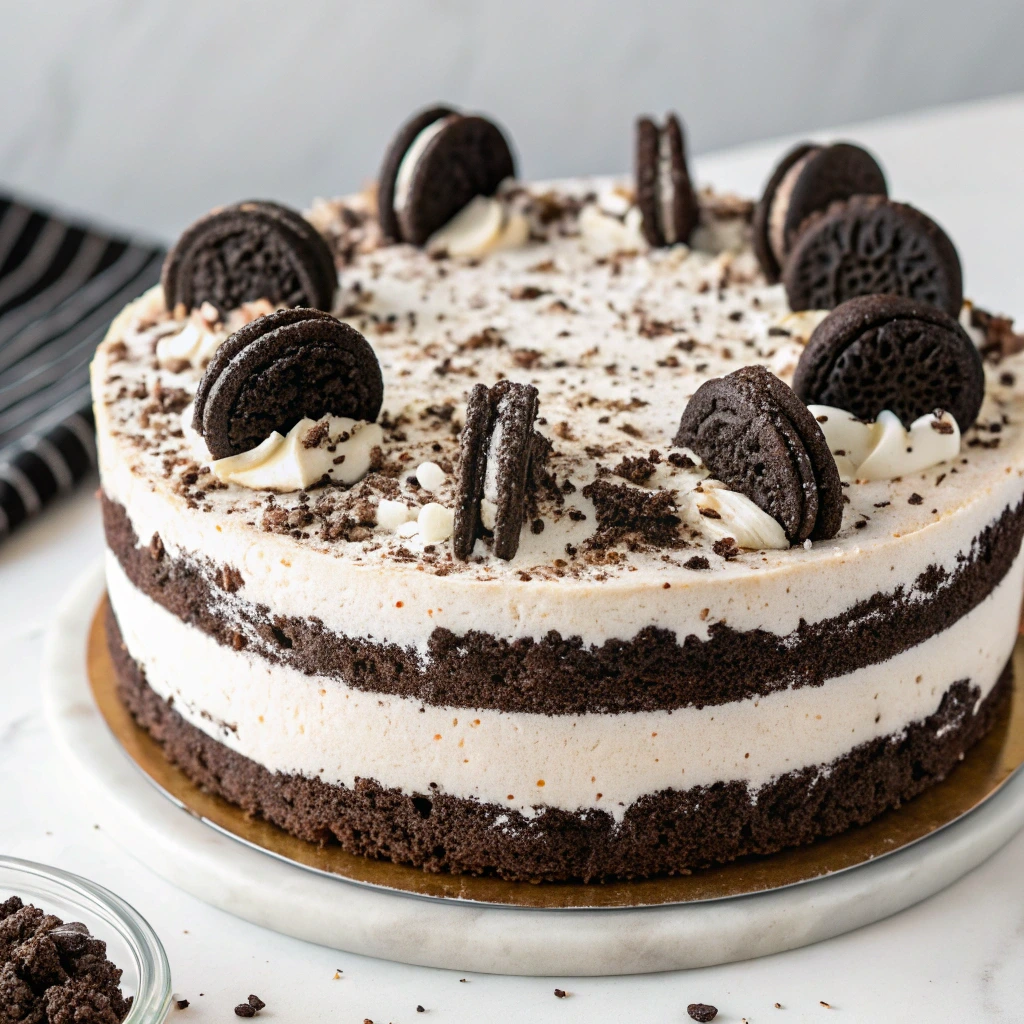
4. Decorate like a diva
Top with crushed Oreos, a lil’ chocolate drizzle, or whipped cream swirls. Do your thing, babe.
Maria’s Tricks That Take It Next-Level
- Use double-stuffed Oreos for extra creamy vibes.
- Freeze it for 20 minutes before serving if you want cleaner slices.
- I once added a spoon of peanut butter in the cream — don’t ask, just try.
- Wanna make it fancy? Layer in a trifle dish and call it a “deconstructed dessert.” They’ll never know.
FAQ (a.k.a stuff I learned the messy way)
Can I use store-bought whipped cream?
Yep! I’ve done both — homemade gives a thicker texture, but no shame in the shortcut game.
How long does it last in the fridge?
About 3–4 days. But honestly? It never survives more than 24 hours in my house.
Can I make it vegan?
You can! Use vegan cream cheese, coconut whipped cream, and check your Oreos (some are already dairy-free!).
Can I freeze it?
Yes! Just thaw it in the fridge for 30 mins before serving — makes it even creamier.
What if I don’t have a mixer?
Been there! You can totally whip the cream by hand with a whisk — just consider it your arm workout for the day.
Final Thoughts from Maria (and her messy kitchen)
If you made it this far, babe, I’m sending you a virtual hug.
This no-bake Oreo cake isn’t just a dessert — it’s a love letter to all of us who want delicious without the drama.
Stick around, try more of my chaotic kitchen experiments, and let’s keep things creamy, messy, and always sweet.
You + me + Oreos = forever

No-Bake Oreo Cake
Equipment
- Mixing bowls
- Hand mixer or whisk
- Rubber spatula
- 8-inch cake pan or trifle cups
- Ziplock bag + rolling pin or food processor
Ingredients
- 24 Oreo cookies plus a few extra for garnish, of course
- 1 tbsp melted butter
- 1 cup cold heavy whipping cream
- 8 oz cream cheese, softened
- ½ cup powdered sugar
- 1 tsp vanilla extract
- Optional: melted chocolate, extra Oreos, or sprinkles to glam it up
Instructions
- Crush the OreosPut those cookies in a ziplock bag and smash away with a rolling pin (very therapeutic btw). Mix them with melted butter until it feels like wet sand. Press into the base of your cake pan or individual cups. Boom — your crust is done.
- Make the creamy dreamy layerWhip your cold cream into stiff peaks (like lil’ clouds). In another bowl, beat cream cheese, powdered sugar, and vanilla until smooth. Gently fold in your whipped cream. It should be light, fluffy, and dangerous to taste because you won’t stop.
- Layer it upSpoon the filling over your crust and smooth it out. If you’re feeling extra, do a second Oreo layer in the middle — I always do. Refrigerate for at least 3 hours (I know, torture), or overnight if you’re patient.
- Decorate like a divaTop with crushed Oreos, a lil’ chocolate drizzle, or whipped cream swirls. Do your thing, babe.
Notes
- Don’t skip the chilling time — it helps everything set beautifully.
- Add layers of crushed Oreos inside the cream for a surprise crunch.
- You can double the recipe for a party or layer it in a trifle dish for a fancier look.
- Store leftovers covered in the fridge — if there