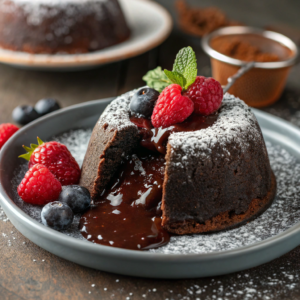
Chocolate Lava Cake
My Chocolate Lava Cake That Melts Hearts (and Mouths)
Okay babes, let’s talk about chocolate. Like, the kind of chocolate that makes you do that little happy dance in the kitchen and maybe even whisper “I love you” to your oven. That’s exactly the vibe of this chocolate lava cake. Ooey, gooey in the middle, slightly crisp on the outside, and basically a tiny personal miracle that comes together in under 30 minutes.
First time I made it, I legit panicked when I opened the oven and saw that molten middle. My first thought? “Did I just… create dessert magic?” Spoiler: yes. You will too. This isn’t just dessert, babe — it’s therapy in a ramekin.
Why I’m Lowkey Obsessed with This Lava Cake
Listen, I get it. Baking can feel intimidating, and chocolate lava cake sounds fancy-pants. But babe, it’s easier than you think. One bowl, a little whisk action, and a few simple ingredients. That’s it. And the payoff? That first spoonful where the warm chocolate spills out — pure happiness. Honestly, this cake is like a chocolate hug that says, “It’s gonna be okay, babe.”
Plus, it makes you look like a total kitchen goddess. Guests? Impressed. Date night? Chef’s kiss. Just you and Netflix? Even better.
What You’ll Need for Chocolate Lava Cake
Alright, babe, here’s your shopping list. Keep it chill — these are pantry-friendly ingredients, nothing fancy:
- 4 oz (about 115g) semi-sweet or dark chocolate — quality matters, but don’t stress too much.
- ½ cup (1 stick) unsalted butter, plus a tiny extra for greasing.
- 1 cup powdered sugar — yes, sugar, don’t skip it.
- 2 large eggs
- 2 egg yolks
- 1 teaspoon vanilla extract
- ½ cup all-purpose flour
- A pinch of salt
- Optional but totally divine: cocoa powder for dusting ramekins, or a sprinkle of sea salt on top.
Pro Tip: Once, I added a tiny bit of espresso powder. Babe… next-level chocolate flavor. Totally optional, but highly recommended if you want to feel fancy.
How to Make Your Chocolate Lava Cake (Maria Style)
a.k.a. the part where your kitchen smells like heaven.
1. Prep like a pro (or pretend you are)
Preheat your oven to 425°F (220°C) and butter up 4 small ramekins. If you have cocoa powder, dust the ramekins lightly — it helps the cakes slide out without drama.
2. Melt your chocolate & butter
Toss the chocolate and butter in a heatproof bowl over simmering water (or microwave in short bursts — 20 seconds at a time, stir in between). Whisk until smooth and glossy. Honestly, this step is dangerously fun because you just want to dip a finger in and taste it straight. Do it… but maybe just once.
3. Sweeten & egg it up
Take that glossy chocolate mix and whisk in the powdered sugar. Then add the eggs and egg yolks one at a time, stirring like your life depends on it. Throw in the vanilla and salt. This is the moment your batter starts feeling magical.
4. Flour power
Gently fold in the flour. No overmixing, babe! Just enough to combine. This is what keeps the outside cake-y and the inside molten. Think of it as giving the batter a gentle hug — don’t squash it.
5. Fill ‘em up
Divide the batter evenly into the ramekins. Smooth the tops a bit if you feel fancy. If you’re extra, sprinkle a pinch of sea salt or chocolate chunks on top. Because why not?
6. Bake & peek
Pop them in the oven for 12–14 minutes. Here’s the trick: the edges should be set, the top slightly puffed, and the center should jiggle a little. That jiggle = lava magic. Don’t overbake, babe — we want molten, not solid chocolate bricks.
7. The grand reveal
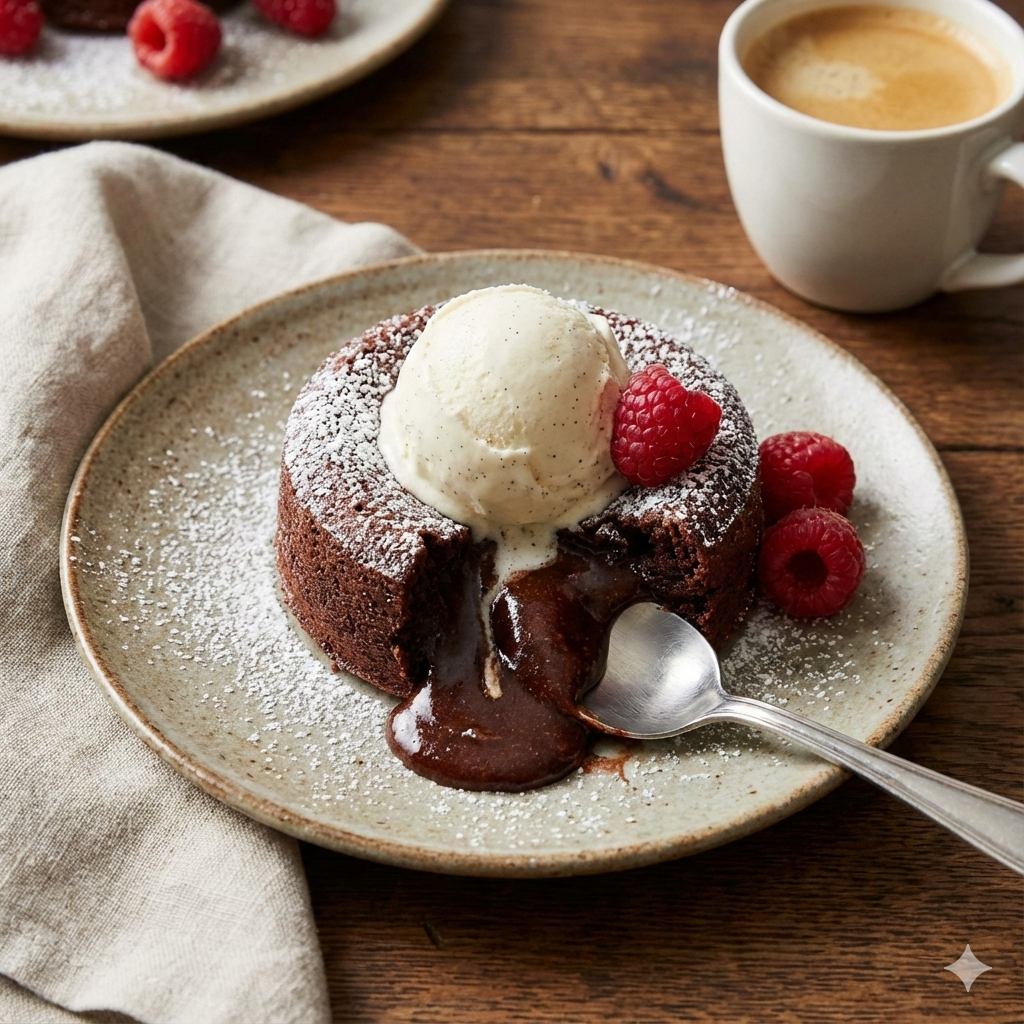
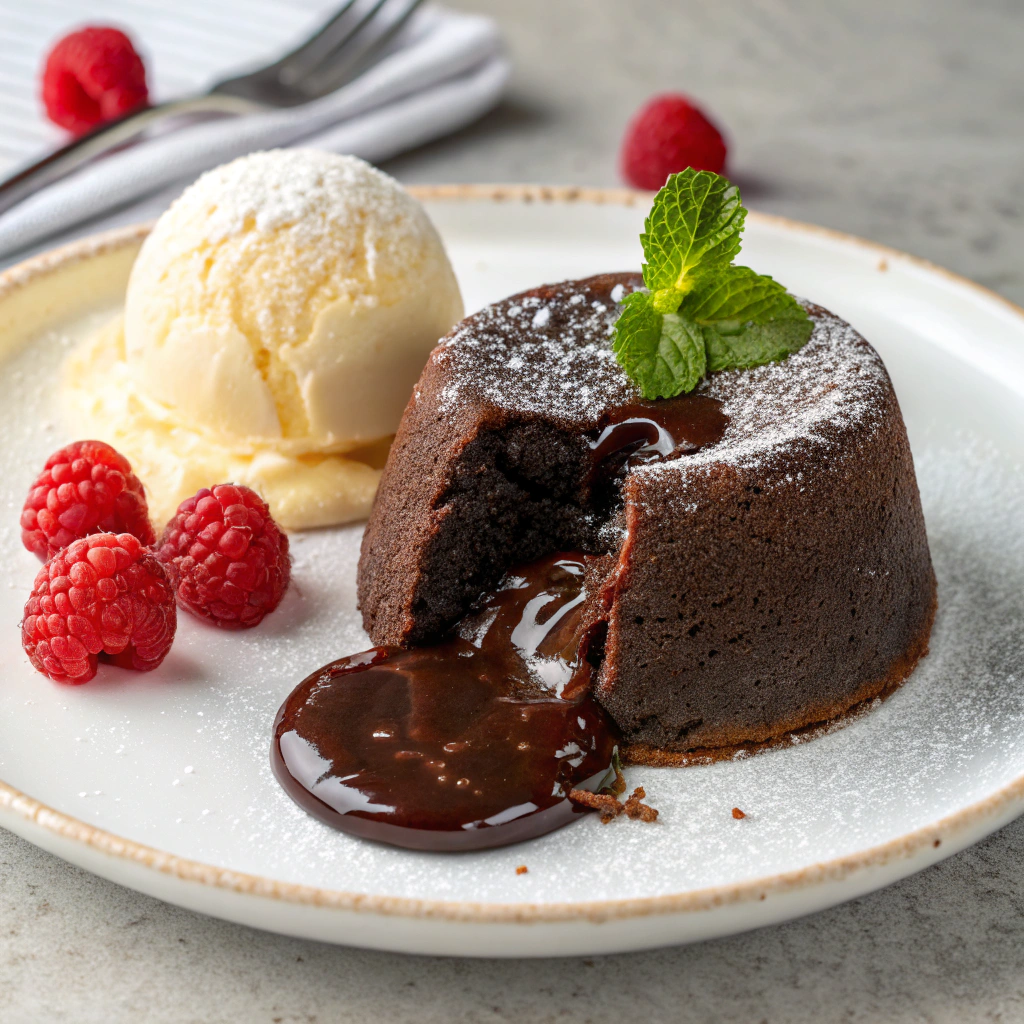
Let them rest for 1 minute (yes, just one). Then, take a butter knife and run it around the edges. Flip onto a plate… and brace yourself. That chocolate center will ooze out like a waterfall of happiness.
8. Serve it up
Optional but highly recommended: a scoop of vanilla ice cream or whipped cream. Some berries wouldn’t hurt either. And maybe a little drizzle of caramel if you’re feeling wild.
Maria’s Lava Cake Tips (aka: Don’t Cry Over Burnt Chocolate)
- Ramekin size matters: I learned the hard way. Too big? The lava won’t ooze. Too small? It’s like molten lava explosion city. Stick to 6 oz ramekins.
- Quality chocolate = wow factor: You don’t need fancy chocolate, but don’t grab supermarket mystery chocolate either. Your taste buds deserve better.
- Timing is everything: Watch that oven like a hawk. Even 30 seconds too long and you’ve lost your lava.
- Microwave vs. double boiler: Double boiler is smoother, but microwave is fine if you’re impatient like me. Just stir constantly.
- Make ahead? Kinda: You can prep the batter in the morning, cover with plastic, and bake later. Just add an extra minute in the oven.
Chocolate Lava Cake FAQ (aka: Maria Answers Your Dessert Panic Questions)
Can I make this vegan?
Totally possible with dairy-free chocolate, coconut oil, and a flax egg. Texture changes slightly, but still dreamy.
What if I overbake it?
Babe… you’ll get a chocolate cake. Still delicious, just not molten. Keep practicing — it’s all part of the fun.
Can I freeze the batter?
Yep! Freeze in ramekins, then bake straight from frozen. Might need an extra minute or two in the oven.
Can I double the recipe?
Of course! Just make sure you don’t overcrowd the oven — lava cake likes its space.
You Did That, Queen!
Look at you, making molten chocolate magic like a total pro. If your kitchen smells like dessert heaven and your heart is a little happier, then mission accomplished. Seriously, this lava cake is one of those recipes you’ll wanna make over and over — because chocolate fixes everything, right?
Stick around, babe. We’ve got more no-stress, full-flavor recipes coming your way — sweet treats, cozy meals, and all the little things that make life delicious. Remember: messy hair, chocolate fingers, and a happy heart is the ultimate kitchen vibe.
Big hugs and molten chocolate dreams,
Maria
Chocolate Lava Cake
Ingredients
- 4 oz about 115g semi-sweet or dark chocolate — quality matters, but don’t stress too much.
- ½ cup 1 stick unsalted butter, plus a tiny extra for greasing.
- 1 cup powdered sugar — yes sugar, don’t skip it.
- 2 large eggs
- 2 egg yolks
- 1 teaspoon vanilla extract
- ½ cup all-purpose flour
- A pinch of salt
- Optional but totally divine: cocoa powder for dusting ramekins or a sprinkle of sea salt on top.
Instructions
Prep like a pro (or pretend you are)
- Preheat your oven to 425°F (220°C) and butter up 4 small ramekins. If you have cocoa powder, dust the ramekins lightly — it helps the cakes slide out without drama.
Melt your chocolate & butter
- Toss the chocolate and butter in a heatproof bowl over simmering water (or microwave in short bursts — 20 seconds at a time, stir in between). Whisk until smooth and glossy. Honestly, this step is dangerously fun because you just want to dip a finger in and taste it straight. Do it… but maybe just once.
Sweeten & egg it up
- Take that glossy chocolate mix and whisk in the powdered sugar. Then add the eggs and egg yolks one at a time, stirring like your life depends on it. Throw in the vanilla and salt. This is the moment your batter starts feeling magical.
Flour power
- Gently fold in the flour. No overmixing, babe! Just enough to combine. This is what keeps the outside cake-y and the inside molten. Think of it as giving the batter a gentle hug — don’t squash it.
Fill ‘em up
- Divide the batter evenly into the ramekins. Smooth the tops a bit if you feel fancy. If you’re extra, sprinkle a pinch of sea salt or chocolate chunks on top. Because why not?
Bake & peek
- Pop them in the oven for 12–14 minutes. Here’s the trick: the edges should be set, the top slightly puffed, and the center should jiggle a little. That jiggle = lava magic. Don’t overbake, babe — we want molten, not solid chocolate bricks.
The grand reveal
- Let them rest for 1 minute (yes, just one). Then, take a butter knife and run it around the edges. Flip onto a plate… and brace yourself. That chocolate center will ooze out like a waterfall of happiness.
Serve it up
- Optional but highly recommended: a scoop of vanilla ice cream or whipped cream. Some berries wouldn’t hurt either. And maybe a little drizzle of caramel if you’re feeling wild.
Notes
- Use good-quality chocolate for the richest flavor.
- Do not overbake — the center should be slightly jiggly.
- Ramekin size: 6 oz works best.
- Can be made ahead: batter can be prepared and refrigerated up to 4 hours before baking.
- Optional toppings: vanilla ice cream, whipped cream, berries, or a sprinkle of sea salt.
- Vegan option: use dairy-free chocolate, coconut oil, and flax eggs.